This article was originally published on Nano Code Wiki
You can choose to use git send-email to send email patches to the community. The concrete steps are below.
Installing Git Email
- Ubuntu does not install the full Git package by default, so after installing Git (Ulan already has Git installed), you still need to install git-email:
1sudo apt update
2sudo apt install git-email
If the installation fails, for example if you encounter the following problem:
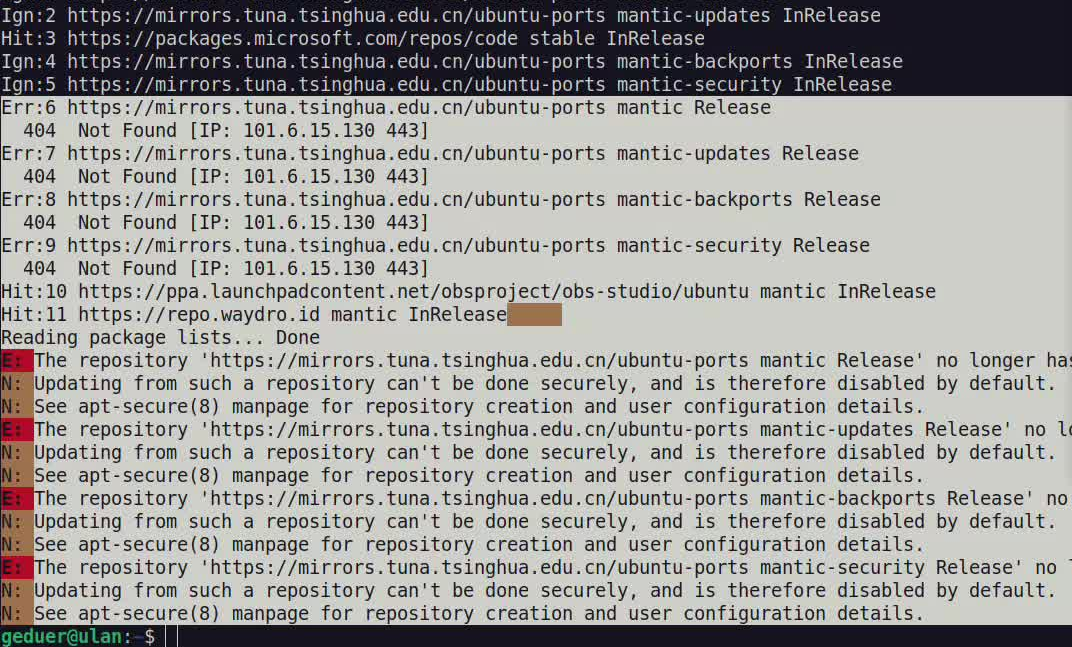
You can manually add Git’s official PPA and install again:
1sudo add-apt-repository ppa:git-core/ppa
2sudo apt update
3sudo apt install git-email
Configuring Git Email
- First we need to prepare an email account. I use a yeah.net mailbox, but qq/foxmail mailboxes, NetEase Mail, Tencent Enterprise Mail, and others also work.
PS: In a domestic environment, I do not recommend using a Google mailbox because it requires a VPN.
You need to enable the mailbox’s SMTP service; you can search for a tutorial online. Notes:
- Some mail providers issue a separate password for third-party clients; save it first because you will need it later;
- Check which SMTP encryption protocol the mailbox supports: stl or ssl, or both. You will need this later during configuration.
Configure git email to bind your own mailbox. I recommend using the command line rather than editing .gitconfig directly, to avoid configuration mistakes:
1git config --global sendemail.smtpEncryption <ssl or stl>
2git config --global sendemail.smtpServer <your smtp address>
3git config --global sendemail.smtpServerPort 587
4git config --global sendemail.smtpUser <your email>
5git config --global sendemail.smtpPass = <your pass or smtp pass>
The parts inside <> should be filled in with your actual mailbox information.
After the configuration is complete, you can check it with cat ~/.gitconfig:
1[sendemail]
2        smtpEncryption = <ssl or stl>
3        smtpServer = <your smtp address>
4        smtpServerPort = 587
5        smtpUser = <your email>
6        smtpPass = *****
Editing Patches and Sending Them
- Common patch generation command:
1git format-patch HEAD~<number> --subject-prefix="your prefix" --thread --cover-letter -s
--subject-prefix=lets you insert a unified prefix into the patch subject, usually PATCH, RFC, or a combination;--cover-lettergenerates a cover file numbered 0, which you can edit to add patch notes;-sadds your email signature to the patch
- Send the email to the mailing list
Using QEMU as an example, you can run ./script/get_maintainer.pl <patch-file> to obtain the recipients and CC list. The command for sending the patch by email is:
1git send-email \
2--to=<email> \
3--cc=<email> \
4<your-patch>
After the email is sent successfully, the terminal will print:
Result: 250
PS: You can send it to your own mailbox first to verify that sending works. Some open-source community mailing lists require review the first time you send to them, so if you do not see your email in the list right away, please wait patiently.
- Replying to email
You can refer to this article: Using mailing lists correctly to participate in open-source collaboration.